Saturday, March 27, 2010

Easter Basket


Two posts in one day...are you shock and awed??
Splitcoaststampers is such a wonderful resource if some of you have not heard of that website before. I get their newsletter and have been a part of that community for several years now. This cute little Easter basket design was in their newsletter a few weeks ago. You can go here to see the tutorial www.splitcoaststampers.com/resources/tutorials/easterbasket All their tutorials are wonderfully done and some even have video demos attached.

I made these for our family and friends who are coming over for Easter dinner this next week. I hope they will enjoy their little treatie Easter Baskets.

I used the designer paper out of SU's Tea Party and used the stamp set Eggcountrements out of the Spring Mini catalog. You can view the catalog by clicking the catalog photo over on the right side of my blog.


It's that time of year again......

....for me to go on my Peep jarring spree! I love these jars filled with yummy peeps (that I can't stand to eat any other way) and they make the best Easter S'mores when you bake them up.


If you'd like the recipe, leave a comment w/ your e-mail and I'd be happy to send it to you.


The tag on the front of the jar hides the recipe on the back. The bunny is made with all Stampin Up punches and is on Pretty in Pink card stock. Such a cute little fella!


I do sell these for $12 each or two for $20 if you are interested but only have a limited supply this year...I'm almost out already.


Happy Easter Everyone!


Wednesday, March 24, 2010

Kid Art!

I am usually on here sharing my artwork but I had to share my boys' artwork today. Our oldest is 9 and his art teacher was talking about Laurel Bench--who I had no idea who she was. So I looked her up and she puts beautiful colors and art on bags and scarves. The art teacher showed the kids a poster of the art that is on this bag.


This was the inspiration for the kids art class. Now, I could certainly use a beautiful bag like this but I REALLY could use a bag with art on it like this.......


Isn't it stunning? I just love it. Our 9 year old freehanded the horses, then used a white crayon to draw on the white designs, then watercolored the page. The paper feels like water color paper, I believe. This technique is used on cards that I make and it's called Crayon Resist. I'm trying to think if I have any card photos using this technique...I'll have to search and I'll add it in if I can find one. I love making cards using this technique, just haven't thought of it in a while. But, my son is inspiring me!

Then our youngest had to share his work too.....he's 6. So here is his fun artwork for winter. I love the colors on this too.....so bright and PURPLE. I love purple.

Well, I'm proud of my boys! I love them both and am glad to see that they enjoy art like their mama. It stems from further back than me...my dad used to paint on and off and we have some of his beautiful work, and my mom is quite creative too. As well as an avid stamper and scrapper, she used to sew all the time when we were kids...she even made her wedding dress that I was able to wear in my wedding 30 some years later. My hubby's side has some creative skills too. He loves creating miniture items for games and collections. His sister is a great stamper/painter too. I hope we can all use whatever gifts God has given each one of us to His glory.


Friday, March 12, 2010

Spring has Sprung with Bunnies and Flowers!


Sweet 'N Sassy's designer, Korin Sutherland, has had this stamp set in her collection for a little while now. I LOVE it and she just had a sale on her site a few weeks back and I had to get I'd Pick You. I made these for a swap and the theme of the swap is Thinking of You, Sympathy, Get Well. I thought this could be used for all three...even for a Birthday Card. I used my Prismacolor pencils and gamsol to color in the images. SU Top Note diecut and Tea Party designer paper were used.


You can purchase the supplies (except the main image) on my Stampin Up website..just click on the catalog over on the right. Remember this is the last month for Sale*A*Bration where you can earn a free stamp set if you purchase $50 in merchandise or more.


One can also make similar cards like this at my workshops or an in-home demonstration hosted by you at your home with your friends! Each person who attends a party at your home will make 3 cards FOR FREE!!! Call or respond to this e-mail to inquire about open dates for workshops.

Sunday, February 21, 2010

March 18th Workshop....gettin' ready for EASTER!

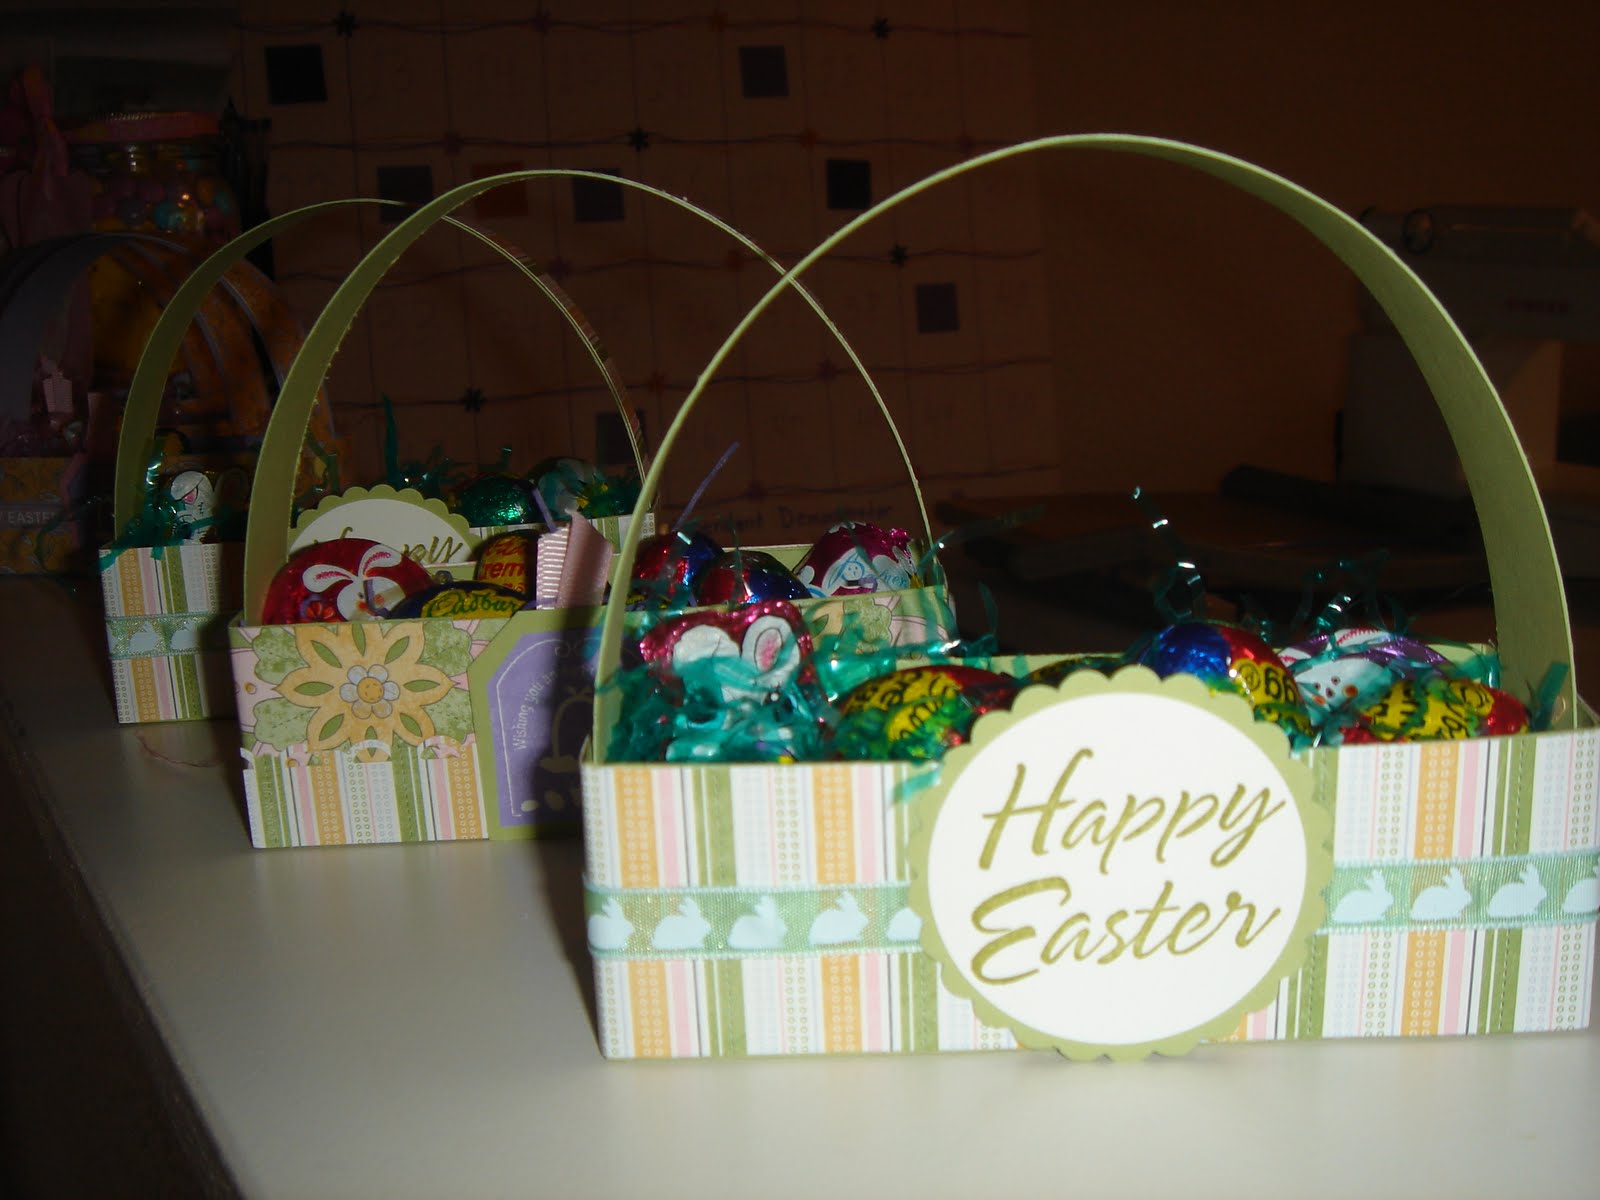
Plan to attend now my next workshop in March. We will be making 4 items for Easter Dinner! Hope you can attend! Respond to this post or send me an e-mail to sign up. We will meet at 7:00 and the cost is $5 for all 4 items. That's only $1.25 EACH!

The Treat Bag is filled with Easter yummies and is a cinch to make. I used Almost Amethyst and Pretty in Pink card stock and ribbon along with SU's Tea Party Designer Paper. I used the Top Note die cut and folded it in half to make the topper for the treat bag. I stapled the bag into the flap and used the dp and sentiments to cover the staple. The stamp set for all the samples is SU's Eggcountrements out of the Spring Mini Catalog. You can find it on page 22. The place setting card bunny is made out of the 1 3/4 Circle punch, the 1/2 Circle punch, the Large and Scalloped Oval punches and the Small Heart Punch. You can find all the larger punches in the Idea Book and Catalog, and the Small Heart Punch in the Spring Mini on page 15.


The card is made out of Kiwi Kiss paper but Mellow Moss or Certain Celery would work well with the Tea Party Designer Paper. Again, I used stamps from the Eggcountrements stamp set, Pretty in Pink card stock and ribbon for layering with the birdies.

Any of these items can be ordered already pre-made for $7, or kits to make them yourself for $5.
March is the last month for Sale*A*Bration so be sure to earn your free stamp set by placing a $50 order for SU supplies. I would also love to do a workshop at your home for you and your friends. We will make 3 cards for FREE and you will get a FREE Idea Book and Catalog as well as $15 in free SU items for a $150 show. With that, you will get a Hostess Stamp Set of your choice....lots of freebies now until the end of March so book your workshop now!!!

Saturday, February 13, 2010

Folded Paper Frame

I made this Valentine for my Darling Hubby. I'm sure he will never fine it here so we are safe! LOL! I used a technique posted on Splitcoast Stampers called the Folded Paper Frame. The tutorial is not up on Splitcoast as of yet but the gallery is...and I'm not even sure if I did it according to the tutorial! Ha! I just looked through the gallery and tried to figure it out. Here is the link to Splitcoast's gallery for this technique:


http://www.splitcoaststampers.com/gallery/showgallery.php?cat=18982


The card is a standard 4 1/4 x 5 1/2 size. I cut the double sided SU paper at 5x5 then folded the frame as seen. I also used a strip of overhead acetate to 'pop up' the heart on the front. I hope he will enjoy this because I sure enjoyed making it.


Wednesday, February 10, 2010

Bitten by The Love Bug

The Love Bug is one of the Hostess Sets that you can earn by having a Stampin Up Workshop in your home. I just got this set and made some more Valentine treat bags for my kids at school. I think these little Love Bugs are tooo cute. I think I LOVE this set. After loading up this picture, I can see that I grabbed a treat bag that does not snow (hehe, left that typo in...I've been home for 2 days due to schools be closed from the snow! LOL) does not SHOW the cute red hearts on the white paper. I had this paper in my stash and have no idea where it came from. But, it looks like hand made paper with little hearts sprinkled throughout. So, imagine little red hearts on the white paper sprinkled here and there.

I used my Stampin Write markers to color in the bugs, and used my scalloped oval and large oval punches to punch out the bugs and the real red mat behind. The white paper is cut 4x 3 1/2 then folded in half over the bag. I used staples to staple the paper onto the bag, then put the love bugs over the staples. The sentiments, Be Mine, comes from a Paper Tray Ink set called Heart Prints.

I hope my kiddos like their little love bugs!

Call or respond to this e-mail if you'd like to set up a workshop in your home...then you can earn this set for free!!!